


Should Cement Board Be Rough Side Up or Down?
Cement board orientation depends on application type and surface preparation requirements for optimal adhesion.
Cement board rough side should face the direction requiring maximum adhesion - typically up for tile installations and toward structure for backing applications. Rough surfaces provide 40-60% better adhesion than smooth surfaces for tile adhesives and waterproofing membranes. Smooth side faces exposed areas for direct paint application or decorative finishes.
From my experience in cement board manufacturing and application development, I've learned that surface orientation directly impacts system performance and long-term durability in moisture-prone environments.
Is There a Front and Back on Cement Board?
Cement board surfaces have distinct characteristics designed for specific application requirements.
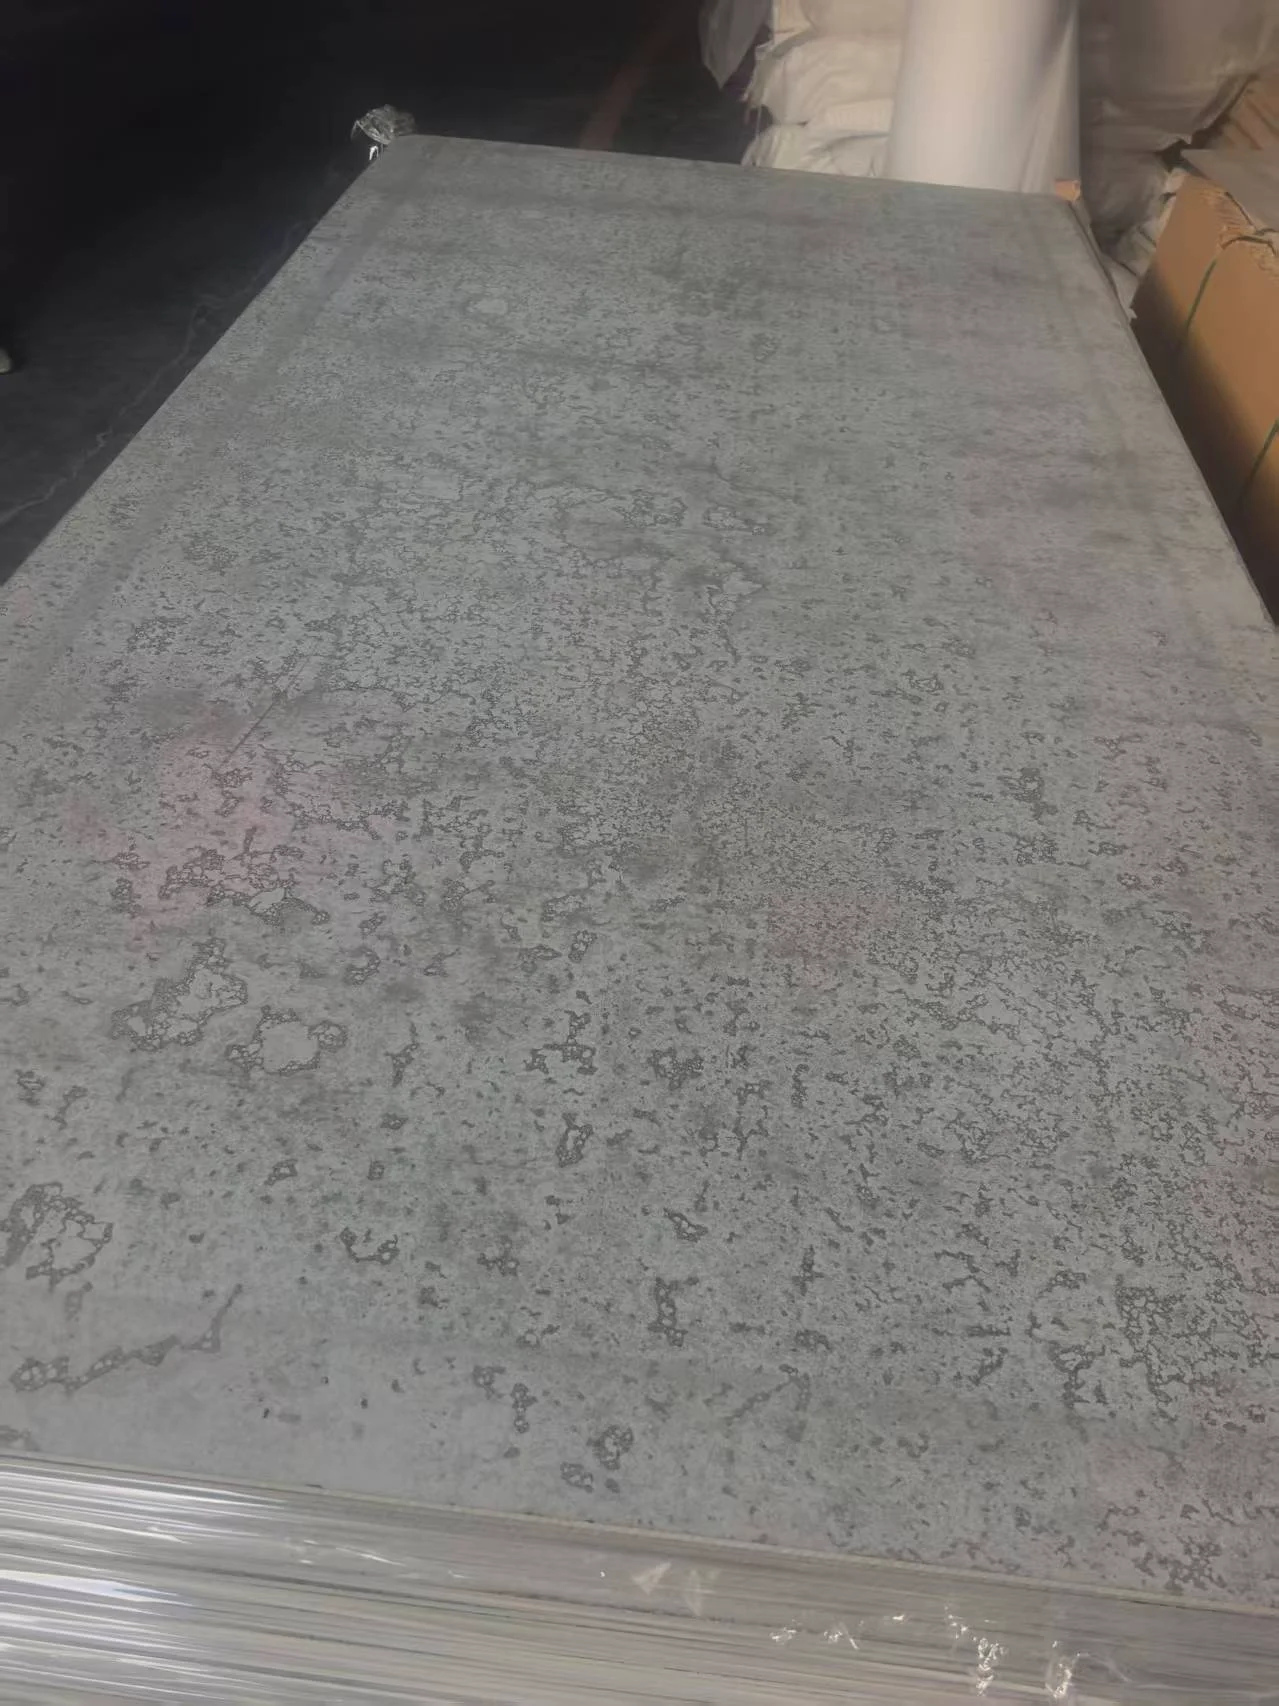
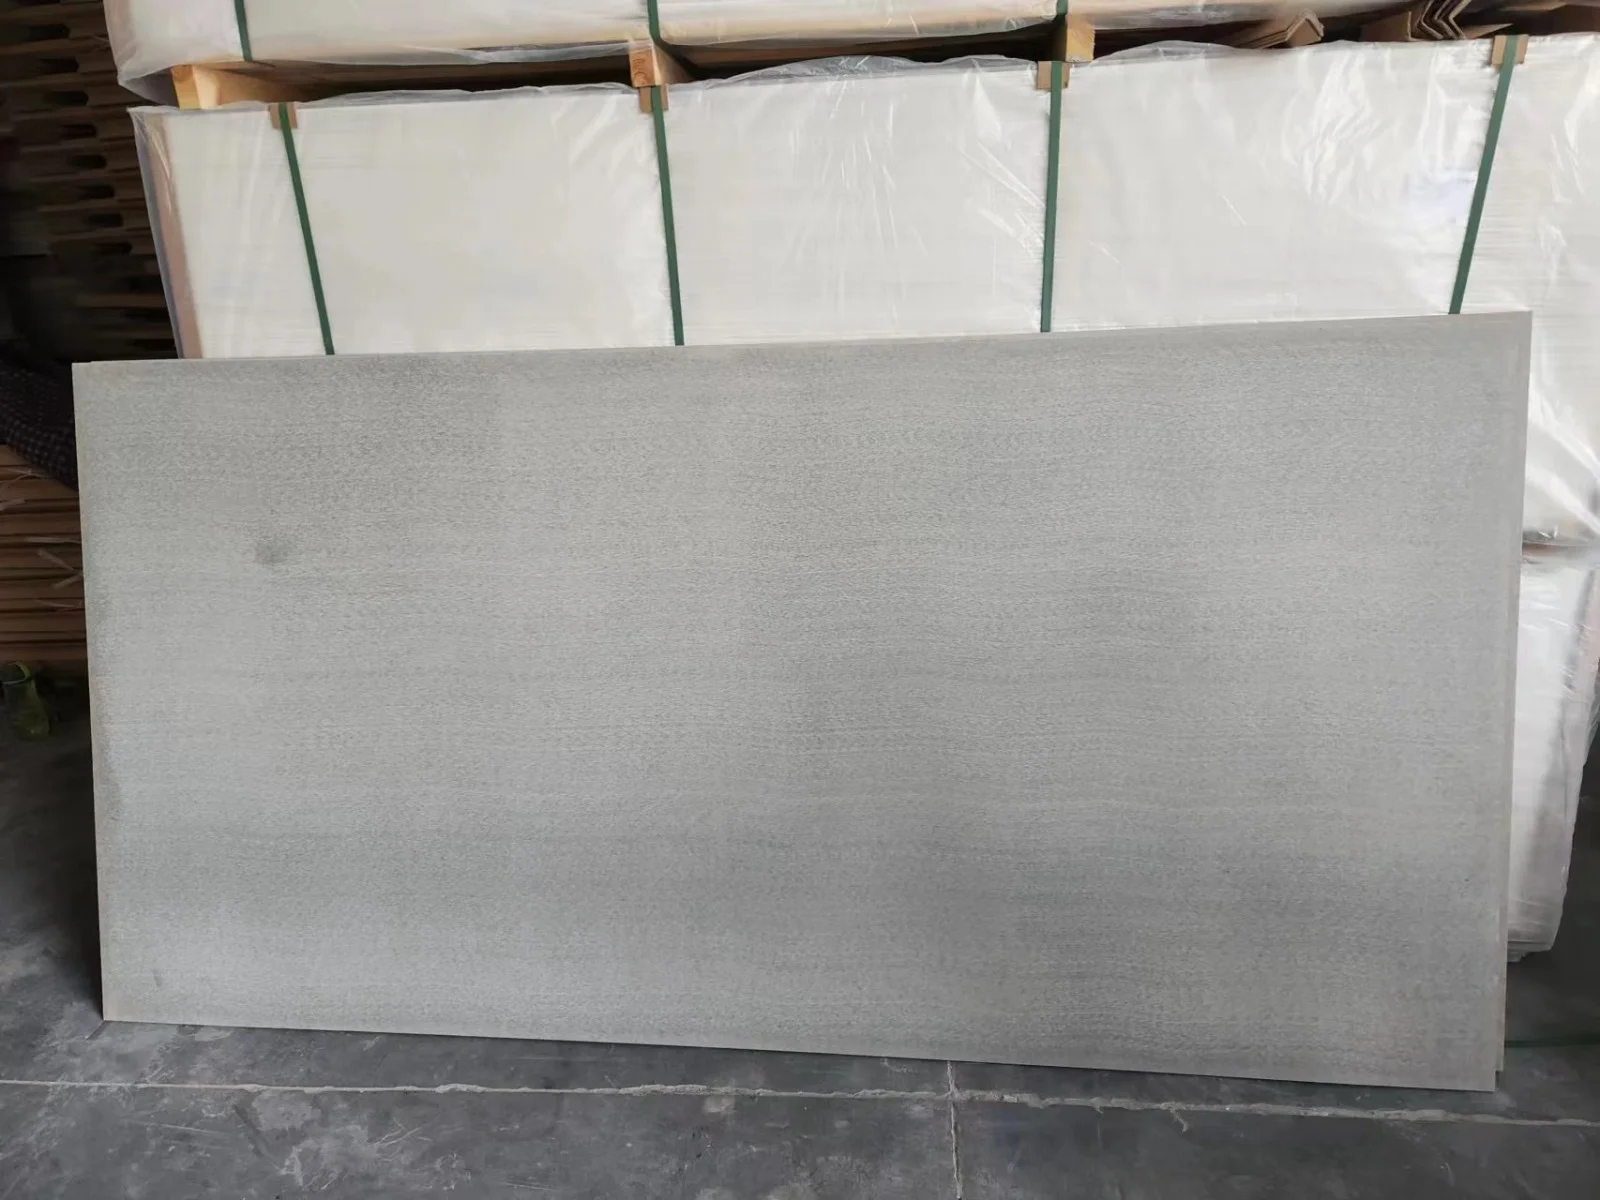
Cement board has engineered front and back surfaces with rough side designed for maximum adhesion and smooth side for finishing applications. Manufacturing process creates textural differences where rough surface increases bonding area by 35-50% while smooth surface provides consistent substrate for paint, primers, or direct exposure applications.
Surface Texture Analysis
Manufacturing processes create distinct surface characteristics optimized for different interface requirements in building applications.
| Surface Type | Texture Characteristics | Adhesion Performance | Optimal Applications | Manufacturing Method |
|---|---|---|---|---|
| Rough Side | Raised fiber texture | 40-60% better adhesion | Tile, waterproofing, adhesives | Molded finish |
| Smooth Side | Minimal texture | Standard adhesion | Paint, exposed finish | Sanded/pressed |
| Mesh Embedded | Integrated reinforcement | Maximum strength | High-stress areas | Embedded during forming |
| Sanded Smooth | Ultra-smooth finish | Reduced adhesion | Decorative applications | Secondary processing |
Rough side orientation provides optimal performance for most wet-area applications requiring maximum adhesion strength.
Application-Specific Orientation
Different building applications require specific cement board orientation to optimize performance and system integration.
| Application Type | Recommended Orientation | Performance Reason | System Benefits | Common Mistakes |
|---|---|---|---|---|
| Tile Backerboard | Rough side toward tile | Maximum adhesion | Reduced tile failure | Smooth side up |
| Shower Walls | Rough side out | Waterproofing adhesion | Better seal integrity | Wrong orientation |
| Exterior Sheathing | Smooth side out | Weather protection | Reduced water penetration | Rough side exposed |
| Paint Substrate | Smooth side exposed | Even finish | Reduced primer use | Painting rough side |
| EIFS Base | Rough side out | Mesh adhesion | System integration | Improper surface prep |
Tile backerboard applications show the most dramatic performance difference based on proper surface orientation.
Manufacturing Design Intent
Cement board surface engineering reflects specific design intentions for building system integration and performance optimization.
| Design Feature | Engineering Purpose | Performance Impact | Quality Indicators | Field Verification |
|---|---|---|---|---|
| Textured Surface | Increased bonding area | 35-50% adhesion improvement | Consistent texture depth | Visual inspection |
| Smooth Surface | Finishing substrate | Uniform appearance | Minimal texture variation | Touch test |
| Edge Design | System integration | Sealed joints | Proper edge profile | Dimensional check |
| Thickness Consistency | Load distribution | Structural performance | ±0.5mm tolerance | Measurement |
Surface texture consistency indicates proper manufacturing quality control and predictable field performance.
Should You Tape Seams on Cement Board?
Cement board seam treatment prevents water infiltration and maintains system integrity.
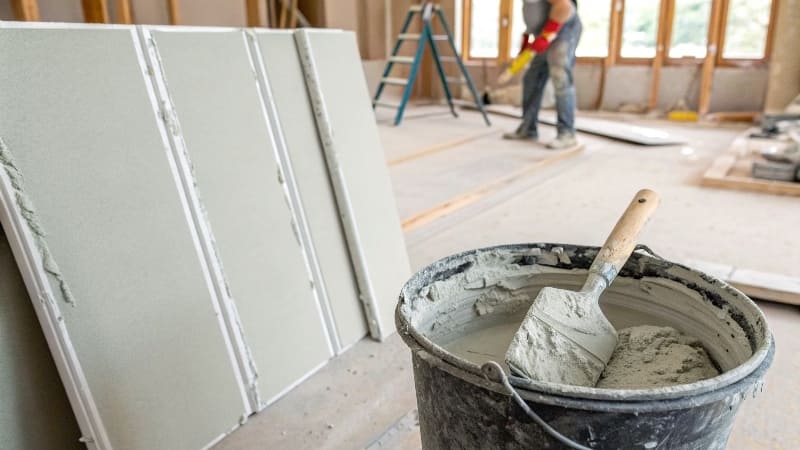
Cement board seams require taping with mesh tape and appropriate sealant for wet area applications to prevent water infiltration. Untaped seams allow water penetration leading to structural damage and system failure while proper seam treatment extends system life by 15-20 years. Alkaline-resistant mesh tape with polymer-modified cement provides optimal seam performance.
Seam Treatment Requirements
Different applications require specific seam treatment methods to maintain water resistance and structural integrity.
| Application Area | Seam Treatment Required | Tape Type | Sealant Type | Performance Expectation |
|---|---|---|---|---|
| Shower Areas | Always required | Alkaline-resistant mesh | Polymer cement | 20+ year life |
| Bathroom Walls | Recommended | Standard mesh | Cement-based | 15-20 year life |
| Kitchen Backsplash | Recommended | Fiberglass mesh | Tile adhesive | 10-15 year life |
| Dry Areas | Optional | Paper tape | Joint compound | Cosmetic only |
| Exterior Applications | Always required | Heavy mesh | Weather-resistant | 25+ year life |
Shower area applications require the most robust seam treatment due to constant moisture exposure.
Taping Material Selection
Proper tape and sealant selection ensures long-term seam performance under moisture and thermal stress conditions.
| Material Type | Moisture Resistance | Alkaline Resistance | Adhesion Strength | Cost Factor |
|---|---|---|---|---|
| Alkaline-Resistant Mesh | Excellent | Excellent | High | Medium-High |
| Fiberglass Mesh | Very Good | Good | Medium-High | Medium |
| Paper Tape | Poor | Fair | Medium | Low |
| Polymer Tape | Excellent | Very Good | Very High | High |
| Self-Adhesive Mesh | Good | Good | Medium | Medium |
Alkaline-resistant mesh tape provides optimal balance of performance and cost for most cement board applications.
Installation Technique Impact
Proper taping installation techniques significantly affect long-term seam performance and system reliability.
| Installation Factor | Impact Level | Best Practice | Common Errors | Quality Verification |
|---|---|---|---|---|
| Surface Preparation | Critical | Clean, dry surface | Dust/debris present | Visual inspection |
| Tape Embedment | High | Full embedment | Air bubbles | Physical check |
| Sealant Coverage | High | Complete coverage | Gaps in coverage | Coverage inspection |
| Curing Conditions | Medium | Proper temperature/humidity | Extreme conditions | Environmental monitoring |
| Edge Sealing | High | Sealed perimeter | Open edges | Water test |
Surface preparation quality determines whether seam treatment will achieve its intended performance life.
How Do You Properly Install Cement Board?
Proper cement board installation requires systematic approach addressing fastening, sealing, and surface preparation.
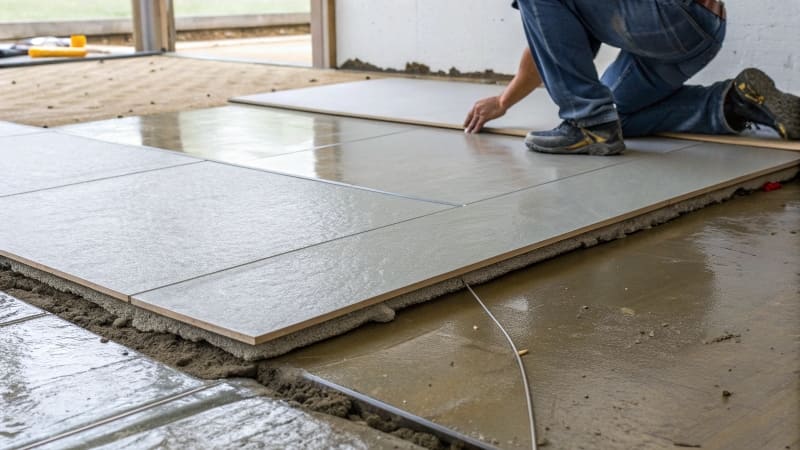
Proper cement board installation involves measuring and cutting boards, installing with appropriate fasteners at specified spacing, sealing all seams and penetrations, and preparing surface for finish application. Fastener spacing every 8 inches on edges and 12 inches in field ensures structural integrity while proper seam sealing prevents water infiltration. Surface preparation determines finish adhesion success.
Installation Sequence Planning
Systematic installation sequence ensures proper cement board performance and integration with building systems.
| Installation Phase | Duration | Critical Requirements | Tools Needed | Quality Checkpoints |
|---|---|---|---|---|
| Layout Planning | 10-15% | Accurate measurements | Tape measure, chalk line | Dimensional accuracy |
| Cutting/Preparation | 20-25% | Clean cuts, proper sizing | Circular saw, carbide blade | Edge quality |
| Fastener Installation | 30-40% | Correct spacing/depth | Drill, appropriate fasteners | Fastener inspection |
| Seam Treatment | 20-25% | Complete coverage | Mesh tape, sealant | Water resistance |
| Surface Preparation | 10-15% | Ready for finish | Appropriate tools | Finish readiness |
Layout planning accuracy determines efficiency of all subsequent installation phases.
Fastener Requirements
Proper fastener selection and spacing ensures cement board structural performance and code compliance.
| Fastener Type | Application | Spacing Requirements | Penetration Depth | Load Capacity |
|---|---|---|---|---|
| Cement Board Screws | Standard installation | 8" edges, 12" field | 1/4" past backing | 75-100 lbs |
| Galvanized Nails | Light-duty applications | 6" edges, 8" field | 3/4" penetration | 50-75 lbs |
| Stainless Steel Screws | Wet areas | 8" edges, 12" field | 1/4" past backing | 100-125 lbs |
| Concrete Screws | Concrete substrate | Per manufacturer | Varies by substrate | Variable |
Stainless steel fasteners provide optimal corrosion resistance for high-moisture applications.
Cutting and Edge Treatment
Proper cutting techniques and edge treatment ensure clean installation and system performance.
| Cutting Method | Edge Quality | Tool Requirements | Speed | Dust Generation |
|---|---|---|---|---|
| Circular Saw/Carbide | Excellent | Carbide blade, guide | Fast | High |
| Utility Knife/Score | Good | Sharp blade, straight edge | Medium | Low |
| Jigsaw | Fair | Fine-tooth blade | Slow | Medium |
| Reciprocating Saw | Poor | Appropriate blade | Fast | High |
Circular saw with carbide blade provides optimal balance of speed, quality, and clean edge finish.
Surface Preparation Standards
Final surface preparation ensures optimal adhesion for tile, paint, or other finish materials.
| Preparation Step | Quality Standard | Tools Required | Verification Method | Impact on Finish |
|---|---|---|---|---|
| Dust Removal | Completely clean | Vacuum, tack cloth | Visual inspection | Critical for adhesion |
| Seam Smoothing | Flush surface | Sandpaper, scraper | Touch test | Affects tile alignment |
| Primer Application | Even coverage | Brush, roller | Coverage inspection | Improves bond strength |
| Moisture Check | Completely dry | Moisture meter | Meter reading | Prevents finish failure |
Complete dust removal provides the single most important factor for successful finish adhesion to cement board.
Quality Control Verification
Systematic quality control ensures cement board installation meets performance standards and building codes.
| Quality Check | Testing Method | Acceptance Criteria | Frequency | Corrective Action |
|---|---|---|---|---|
| Fastener Inspection | Visual/physical | Proper depth, spacing | 100% of fasteners | Re-fasten as needed |
| Seam Integrity | Water test | No penetration | All seams | Re-seal failures |
| Surface Flatness | Straightedge | 1/8" in 10 feet | 10% of surface | Sand high spots |
| Edge Condition | Visual inspection | Clean, sealed edges | All perimeter | Repair damaged edges |
Fastener inspection provides the most critical quality control checkpoint for structural performance.
Conclusion
Cement board rough side should face the direction requiring maximum adhesion with rough surfaces providing 40-60% better adhesion than smooth surfaces for tile installations while smooth side faces exposed areas for direct paint or decorative finishes. Cement board has engineered front and back surfaces with rough side designed for maximum adhesion and smooth side for finishing where manufacturing creates textural differences increasing bonding area by 35-50%. Cement board seams require taping with alkaline-resistant mesh tape and appropriate sealant for wet areas with untaped seams allowing water penetration leading to structural damage while proper seam treatment extends system life by 15-20 years. Proper installation involves systematic measuring, cutting, fastening every 8 inches on edges and 12 inches in field, sealing all seams, and preparing surface for finish application with surface preparation quality determining finish adhesion success and long-term system performance. Success with cement board depends on understanding that surface orientation, seam treatment, and installation quality directly impact system performance, requiring systematic approach rather than experience-based installation methods.
