


Does It Matter Which Side of Cement Board Faces Out for Proper Installation?
Installing cement board seems straightforward until you realize there are right and wrong sides. Getting this basic detail wrong can compromise your entire tile installation and cause expensive failures.
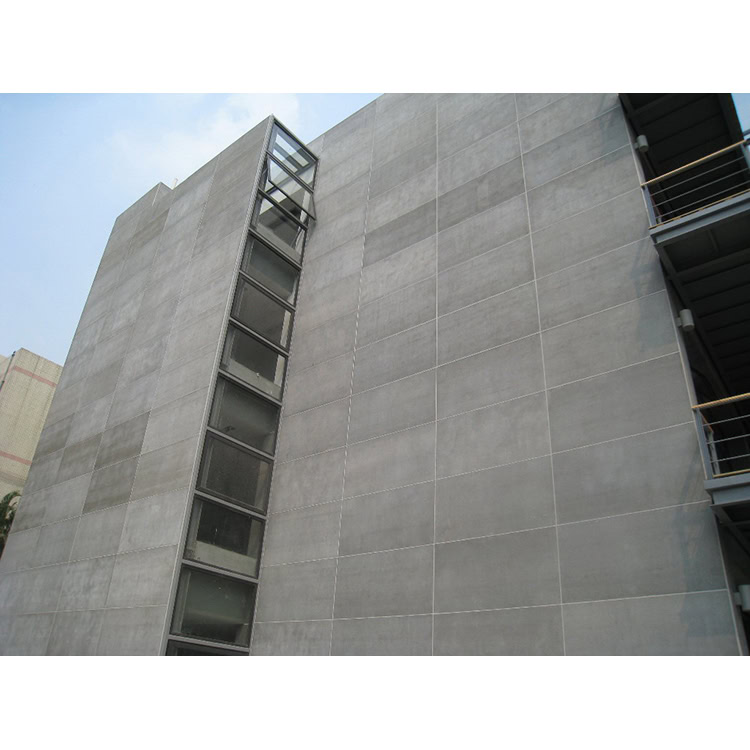
Yes, it matters which side of cement board faces out. The smooth side should face outward for tile installation, while the rough textured side bonds better with adhesives and provides mechanical grip for the mounting surface.

After years of manufacturing cement fiber boards and working with contractors, I have seen how this simple detail affects project success. Let me explain why orientation matters and how to get it right every time.
Can You Use Either Side of a Backer Board Without Problems?
Many installers assume backer boards are identical on both sides. This assumption leads to adhesion problems, uneven surfaces, and premature failures that could have been avoided.
You cannot use either side of a backer board interchangeably. Each side is engineered for specific functions - the smooth side for tile adhesion and the textured side for mechanical bonding to framing or substrate materials.
Understanding the Engineering Behind Backer Board Surface Design
Most people think backer boards are just flat sheets of cement and fiber. This oversimplification misses the sophisticated engineering that goes into surface design. During my years in manufacturing, we learned that surface texture directly affects bonding performance and long-term reliability.
The smooth side receives special treatment during manufacturing to optimize tile adhesive bonding. The surface porosity is controlled to provide adequate mechanical grip while maintaining smoothness for even tile installation. Chemical composition near the surface is adjusted to enhance alkaline resistance and prevent efflorescence.
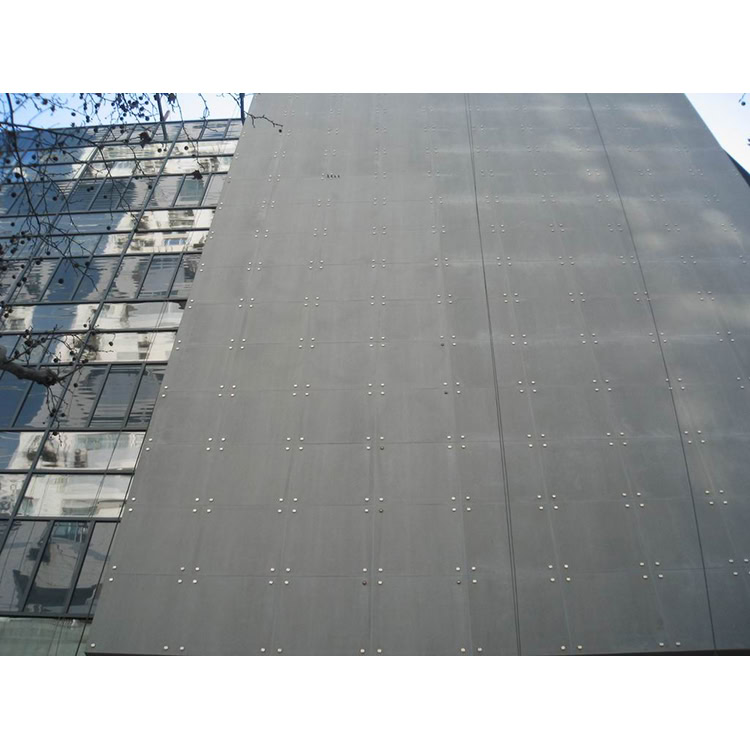
The textured side features deeper surface relief and higher porosity designed for mechanical bonding with construction adhesives, screws, and fasteners. The texture provides multiple contact points that increase holding power and prevent delamination under stress. This side also handles moisture variations better due to increased surface area.
Using the wrong side creates predictable problems. Smooth side against framing reduces fastener holding power and can cause board movement. Textured side facing out creates uneven tile surfaces, increases adhesive consumption, and may telegraph texture through thin tiles. The adhesive bond strength decreases significantly when applied to the wrong surface.
Surface preparation requirements also differ between sides. The smooth side needs minimal preparation before tile installation - just cleaning and priming if specified. The textured side requires more aggressive preparation if accidentally used for tile work, including skim coating or grinding to achieve acceptable flatness.
Quality control testing confirms these performance differences. Adhesion strength tests show 20-30% better performance when tiles are installed on the designated smooth side. Pull tests demonstrate superior fastener holding power when screws engage the textured side properly.
| Surface Characteristic | Smooth Side (Outward) | Textured Side (Inward) |
|---|---|---|
| Primary function | Tile adhesion | Mechanical bonding |
| Surface porosity | Controlled, uniform | Higher, varied |
| Flatness tolerance | ±1/8" in 10 feet | Less critical |
| Adhesive consumption | Standard rates | 20-40% higher |
| Installation speed | Faster, easier | More preparation needed |
What Are Common Mistakes When Installing Cement Board?
Installation mistakes create expensive problems that often do not appear until months or years later. Understanding common errors helps prevent failures and callbacks.
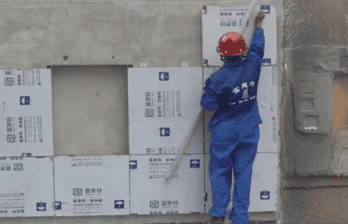
Common cement board installation mistakes include wrong side orientation, inadequate fastener spacing, skipping vapor barriers, improper joint treatment, and rushing the process without following manufacturer specifications exactly.
The Critical Installation Details That Determine Long-Term Success
Installation quality determines whether your cement board performs as designed or becomes a liability. I have investigated hundreds of failed installations, and the same mistakes appear repeatedly. Most failures trace back to shortcuts taken during installation rather than material defects.
Fastener spacing and placement create the most problems. Screws must penetrate framing members by specific depths to achieve rated holding power. Too shallow and the board can work loose. Too deep and you compromise the screw head integrity. Spacing must follow manufacturer specifications - typically 8 inches on center for walls and 6 inches for ceilings.
Vapor barrier omission causes devastating moisture problems. Cement board is not a vapor barrier itself, despite being moisture resistant. Water vapor can pass through and condense behind the board, leading to mold, rot, and structural damage. Proper vapor barrier installation is non-negotiable in wet areas.
Joint treatment gets skipped or done incorrectly on many projects. Unsealed joints allow water penetration and create stress concentration points. The joint compound must be specifically formulated for cement board applications. Standard drywall compound will not perform adequately in wet environments.
Edge details receive insufficient attention from many installers. Cut edges expose the core material and need sealing before tile installation. Corner connections require specific treatment to prevent water intrusion. Penetrations around plumbing fixtures need careful waterproofing integration.
Surface preparation varies dramatically between installers, but consistency is essential. Some areas may need additional mechanical prep to ensure proper adhesion. Dust removal is critical - cement dust interferes with adhesive bonding. Priming may be required depending on tile adhesive selection.
The installation sequence affects quality outcomes. Installing cement board before plumbing and electrical rough-in increases damage risk. Weather protection during installation prevents moisture problems. Allowing adequate cure time before tile installation ensures dimensional stability.
Do Cement Board Seams Need to Be Taped for Proper Performance?
Seam treatment is one of the most misunderstood aspects of cement board installation. Many contractors assume the joints are self-sealing or that tile adhesive will bridge gaps.
Cement board seams must be taped with alkali-resistant mesh tape and sealed with appropriate joint compound to prevent water infiltration, stress cracking, and system failure in wet environments.
Why Seam Treatment Is Critical for System Integrity
Untreated seams represent the weakest points in any cement board installation. Water finds these gaps and causes problems that spread throughout the system. During my manufacturing career, we tracked failure modes and found that 60% of performance issues traced back to inadequate seam treatment.
Water infiltration through untreated seams creates multiple problems. Moisture reaches framing members and causes rot or corrosion. Freeze-thaw cycles in cold climates cause expansion damage. Mold growth begins in dark, damp spaces behind the board. These problems compound over time and become expensive to repair.
Stress concentration occurs at untreated joints under building movement. Thermal expansion, settling, and vibration create forces that must be distributed across the surface. Properly treated seams spread these stresses and prevent crack initiation. Untreated joints become failure points that propagate damage.
The taping process requires specific materials and techniques. Alkali-resistant mesh tape handles the high pH environment of cement-based materials. Standard fiberglass tape degrades over time in alkaline conditions. The tape must embed fully in the joint compound with no air bubbles or gaps.
Joint compound selection affects long-term performance. The compound must bond to cement board, resist moisture, and maintain flexibility under thermal cycling. Polymer-modified compounds perform better than standard cement-based products. Setting times and working properties vary significantly between products.
Application technique determines bond quality. The first coat embeds the tape and fills the joint. The second coat levels the surface and feathers the edges. Each coat must cure properly before applying the next. Rushing this process creates weak bonds and surface irregularities.
Quality control during seam treatment prevents future problems. Visual inspection should confirm complete tape coverage, proper embedding, and smooth transitions. Touch testing can identify soft spots or incomplete curing. Any defects should be corrected before proceeding with tile installation.
| Seam Treatment Step | Requirements | Common Mistakes |
|---|---|---|
| Gap assessment | 1/8" maximum gap | Ignoring oversized gaps |
| Tape selection | Alkali-resistant mesh | Using standard fiberglass tape |
| First coat application | Full tape embedding | Inadequate compound coverage |
| Curing time | Per manufacturer specs | Rushing to next coat |
| Final inspection | Complete coverage | Skipping quality checks |
The investment in proper seam treatment pays dividends in system reliability and longevity. The additional time and materials cost represents a small fraction of total project cost but provides major insurance against future problems.
Conclusion
Proper cement board installation requires attention to surface orientation, systematic fastening, comprehensive seam treatment, and strict adherence to manufacturer specifications for long-term performance and reliability.
